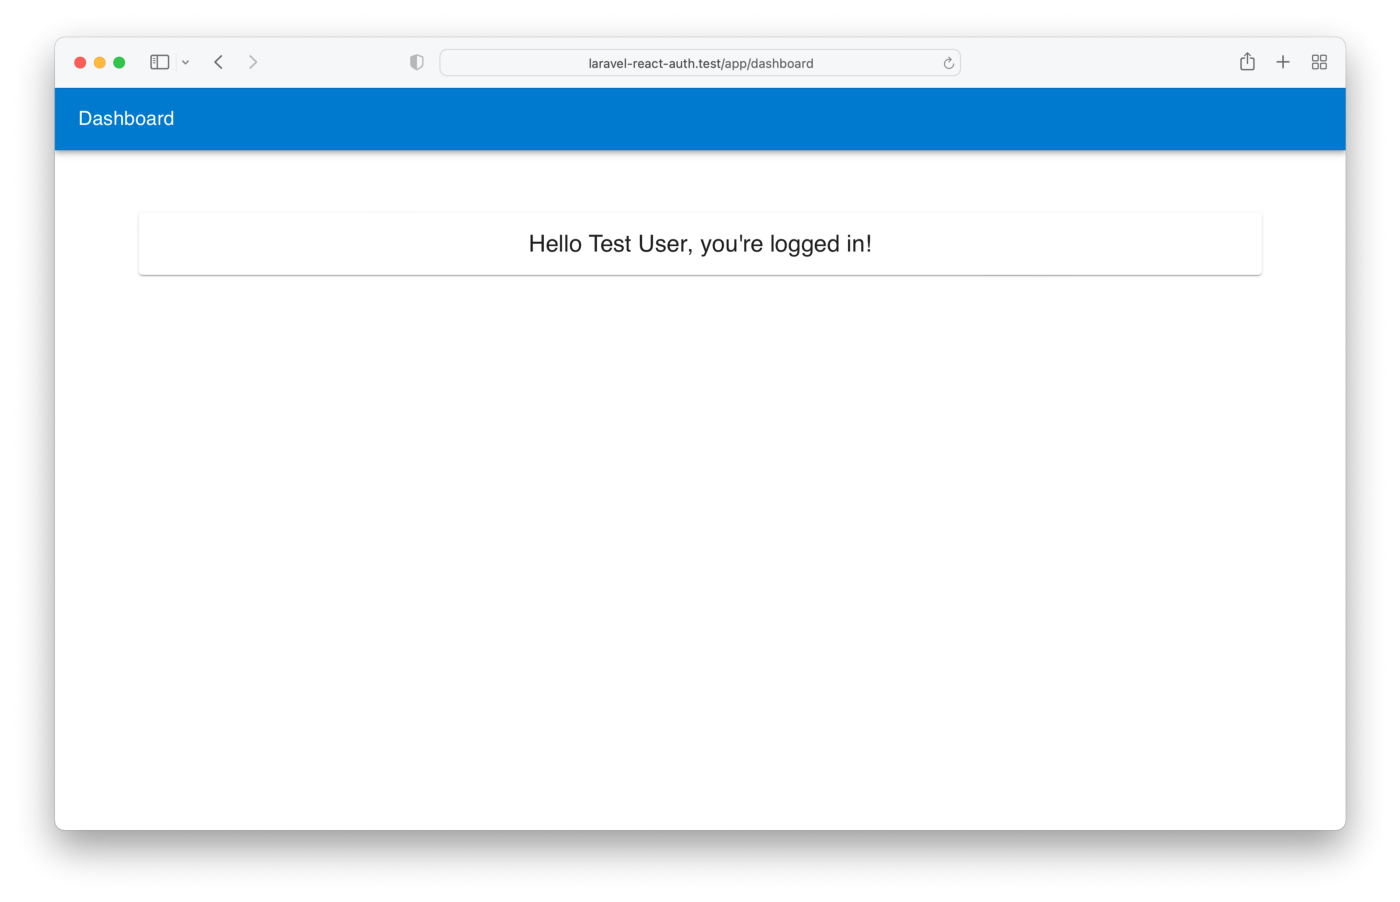
In the previous chapter we build a web application where we can log in, we can protect routes from unauthetnicated user. Before we begin to add new functionality to our app, we should fresh up our UI, becouse, well, how do I say, it’s a little bit flat. But we don’t need to worry about that, we already have great tools to do that: we installed the Material-UI library previously.
First of all, we create a MainLayout component. This will contains our content.
>>> resources/js/components/MainLayout/MainLayout.js
import React from "react";
import {Container} from "@mui/material";

function MainLayout({children}) {
    return (
        <Container>
            {children}
        </Container>
    )
}

export default MainLayout
As you can see, our content will be passed to the component as children. Nevertheless, we can pass site- and page specific props later, like name of the page, what content should the App Bar shows etc.
Now we can use this component to wrap our Dashboard:
>>> resources/js/components/Dashboard/Dashboard
import React from "react";
import user from "../../Models/user";
import {Grid, Typography} from "@mui/material";
import MainLayout from "../MainLayout/MainLayout";

function Dashboard() {
    return (
        <MainLayout>
            <Grid container justifyContent={"center"}>
                <Grid item>
                    <Typography variant={"h5"}>
                        Hello {user.name}, you're logged in!
                    </Typography>
                </Grid>
            </Grid>
        </MainLayout>
    )
}

export default Dashboard
Notice, we don’t need to use Container in the Dashboard component, because we already done in the MainLayout. We can also pass data from the Dashboard component to the MainLayout, for example the title of the page:
{...}
<MainLayout title={"Dashboard"}>
{...}
Now we can access the title prop in the wrapper component. Let’s make some changes to look better:
import React from "react";
import {
    AppBar,
    Paper,
    Container,
    Box,
    CssBaseline,
    Toolbar,
    Typography
} from "@mui/material";

function MainLayout({children, title}) {
    return (
        <React.Fragment>
            <CssBaseline/>
            <AppBar position={"static"}>
                <Toolbar>
                    <Typography
                        variant={"h6"}
                        component={"div"}
                        sx={{flexGrow: 1}}
                    >
                        {title} // Here is our passed data!
                    </Typography>
                </Toolbar>
            </AppBar>

            <Container>
                <Box
                    sx={{
                        marginTop: 8,
                        display: 'flex',
                        width: '100%',
                        height: '100%',
                        flexDirection: 'column',
                        alignItems: 'center',
                    }}
                >
                    <Paper sx={{
                        width: '100%',
                        padding: 2
                    }}>
                        {children}
                    </Paper>
                </Box>
            </Container>
        </React.Fragment>
    )
}

export default MainLayout
We have a little bit better ui.
Invalidate the session
We are using session based authentication. Otherwise, using Sanctum we could make fully token based authentication, someday in an subsequent post we will cover that topic. However, returning to our current implementation we create a new method in LoginController called logout, which will invalidate the authenticated user’s currently used session.
>>> app/Controllers/LoginController
/**
 * @param Request $request
 * @return JsonResponse
 */
public function logout(Request $request): JsonResponse
{

    $request->session()->invalidate();

    $request->session()->regenerateToken();

    return response()->json('Successfully logged out');
}
In api’s routes file we made some changes to looks better. First of all we grouped our routes, which ones are requires authentication, and after that, we defined the logout route.
>>> routes/api.php
<?php

use Illuminate\Http\Request;
use Illuminate\Support\Facades\Route;
use App\Http\Controllers\LoginController;

Route::post('login', [LoginController::class, 'authenticate']);

Route::group(['middleware' => 'auth:sanctum'], function (){
    Route::get('/user', function (Request $request) {
        return $request->user();
    });

    Route::post('/logout', [LoginController::class, 'logout']);
});
Logout on the client side
When we log out from our application we want to make sure, every user related data (which we store on client side) will be deleted. In user.js we create new method to do the clean up.
>>> resources/js/Models/user.js
{...}
/**
 * Remove all user's data from local storage
 */
destroy() {
    localStorage.removeItem('userName')
    localStorage.removeItem('userEmail')
    localStorage.removeItem('userLoggedIn')
}

/**
 *
 * @param callback function
 */
logout(callback) {
    this.destroy()

    callback()
}
{...}
We create a new Logout button component, this will do the job:
>>> resources/js/components/MainLayout/LogoutButton/LogoutButton
import React from "react";
import {Button, Box} from "@mui/material";

function LogoutButton() {

    const logout = (e) => {
        e.preventDefault()
        //log out..
    }

    return (
        <React.Fragment>
            <Box component={"form"} onSubmit={logout}>
                <Button color={'inherit'} type={"submit"}>
                    Logout
                </Button>
            </Box>
        </React.Fragment>
    )
}

export default LogoutButton
We can add this button after the Dashboard’s title:
>>> resources/js/components/MainLayout/MainLayout
{...}
<Toolbar>
    <Typography
        variant={"h6"}
        component={"div"}
        sx={{flexGrow: 1}}
    >
        {title}
    </Typography>
    <LogoutButton/>
</Toolbar>
{...}
After that the button shows up. We could implement the logout’s logic:
import React from "react";
import {Button, Box} from "@mui/material";
import user from "../../../Models/user";
import {withRouter} from "react-router-dom";

function LogoutButton({history}) {

    const logout = (e) => {
        e.preventDefault()

        window.axios.post('/api/logout')
            .then(() => {
                //successful response
            })
            .catch(() => {
                //handle if something went wrong
            })
            .then(() => {
                //this code will be definitely executed
                user.logout(afterUserDestroyed)
            })
    }

    const afterUserDestroyed = () => {
        history.push('/app/login')
    }

    return (
        <React.Fragment>
            <Box component={"form"} onSubmit={logout}>
                <Button
                    type={"submit"}
                    color={'inherit'}
                >
                    Logout
                </Button>
            </Box>
        </React.Fragment>
    )
}

export default withRouter(LogoutButton)
We used the axios “second” then() promise, because it will be always executed. This is a great solution, if we want to prepare our application for backend errors or any other problems what could came up, that way we could be sure that the user will be logout on the client side.

I updated the Github repository of the project, you could find the working code there. We hope you found our article useful! For more similar professional articles read our additional blog posts!
The original version of the article is available here.