The latest version of Unreal Engine, version 5.2, is about to be released very soon. The update contains several new features, some of which already seem like they will have a great effect on the market. Version 5, released in 2022, brought many new functions in the game engine, like Lumen and Nanite. The latest version brings updates to these and the entirely new framework, PCG (Procedural Content Generation). will be introduced too. In this post we’ll be focusing on this new framework, and we’ll be briefly looking at the two other features mentioned before.
Nanite
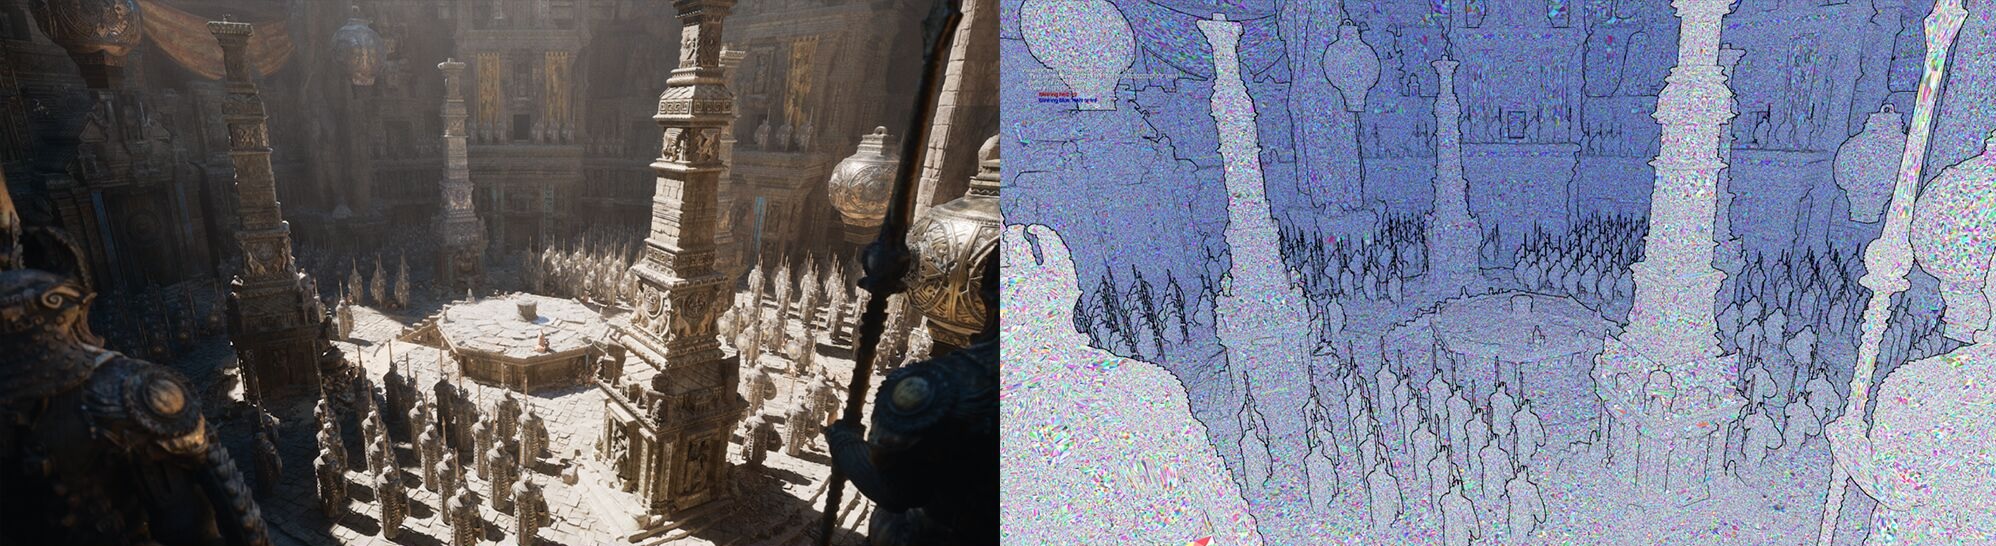
Perhaps one of the biggest innovations of version 5 was the introduction of Nanite. Nanite is a virtualized micropolygon geometry system. This technology allows us to use so-called high-poly models in our project, thus we can import extremely detailed models with a huge number of edges into Unreal Engine. Be it ZBrush models without manual low poly conversion or photo scanned assets.
We can even use the film-quality models in the Quixel Megascan library in our game, without any significant decline in performance.
Nanite, in order to understand the geometry and shape of the objects, divides the meshes into clusters and carries out the appropriate calculations based on the required display quality. Each element is divided into clusters, which are then further divided into sub-clusters. The number of sub-clusters depends on the complexity of the shape and an element can be divided into up to 128 sub-clusters. In addition, Nanite also takes into account the number of pixels on the screen, to determine how much complexity should be displayed to achieve the best rendering quality and it only does work on the detail that can be perceived and no more. This process is similar to that of the creation of LODs (Level of Detail), however, a huge difference is that this does not have to be created by a modeler by hand, but is generated automatically according to the topological complexity of the geometry's clusters.
With further updates we can expect some fine tuning and refining to this technology.
Lumen
What is Lumen? Lumen is a global, fully dynamic lighting solution. With its help, we can create lifelike courses and environments. Indirect lights adapt to direct lighting and changes in geometry. In practice, this means that if, for example, we change the angle of the sun or switch on another lightsource, we will see it in real time in the Unreal Editor what the final outcome would look like. With no need to burn in lightmaps, we can easily create and adjust light sources within the Editor.
This tech can bring forth drastic upgrades in both quality and performance with the 5.2 version. We can await the following updates, including, but not limited to:
- high quality reflection on transparent materials will support texture too
- better zoom in secondary reflections in case of Hardware Ray Tracing and hit lighting
- double sided foliage support with HWRT hit lighting
PCG (Procedural Content Generation)
Now that we know what Lumen and Nanite are, and how we can make high quality products with them, let's turn our focus towards PCG, which will be one of the biggest feature updates in Unreal Engine 5.2.
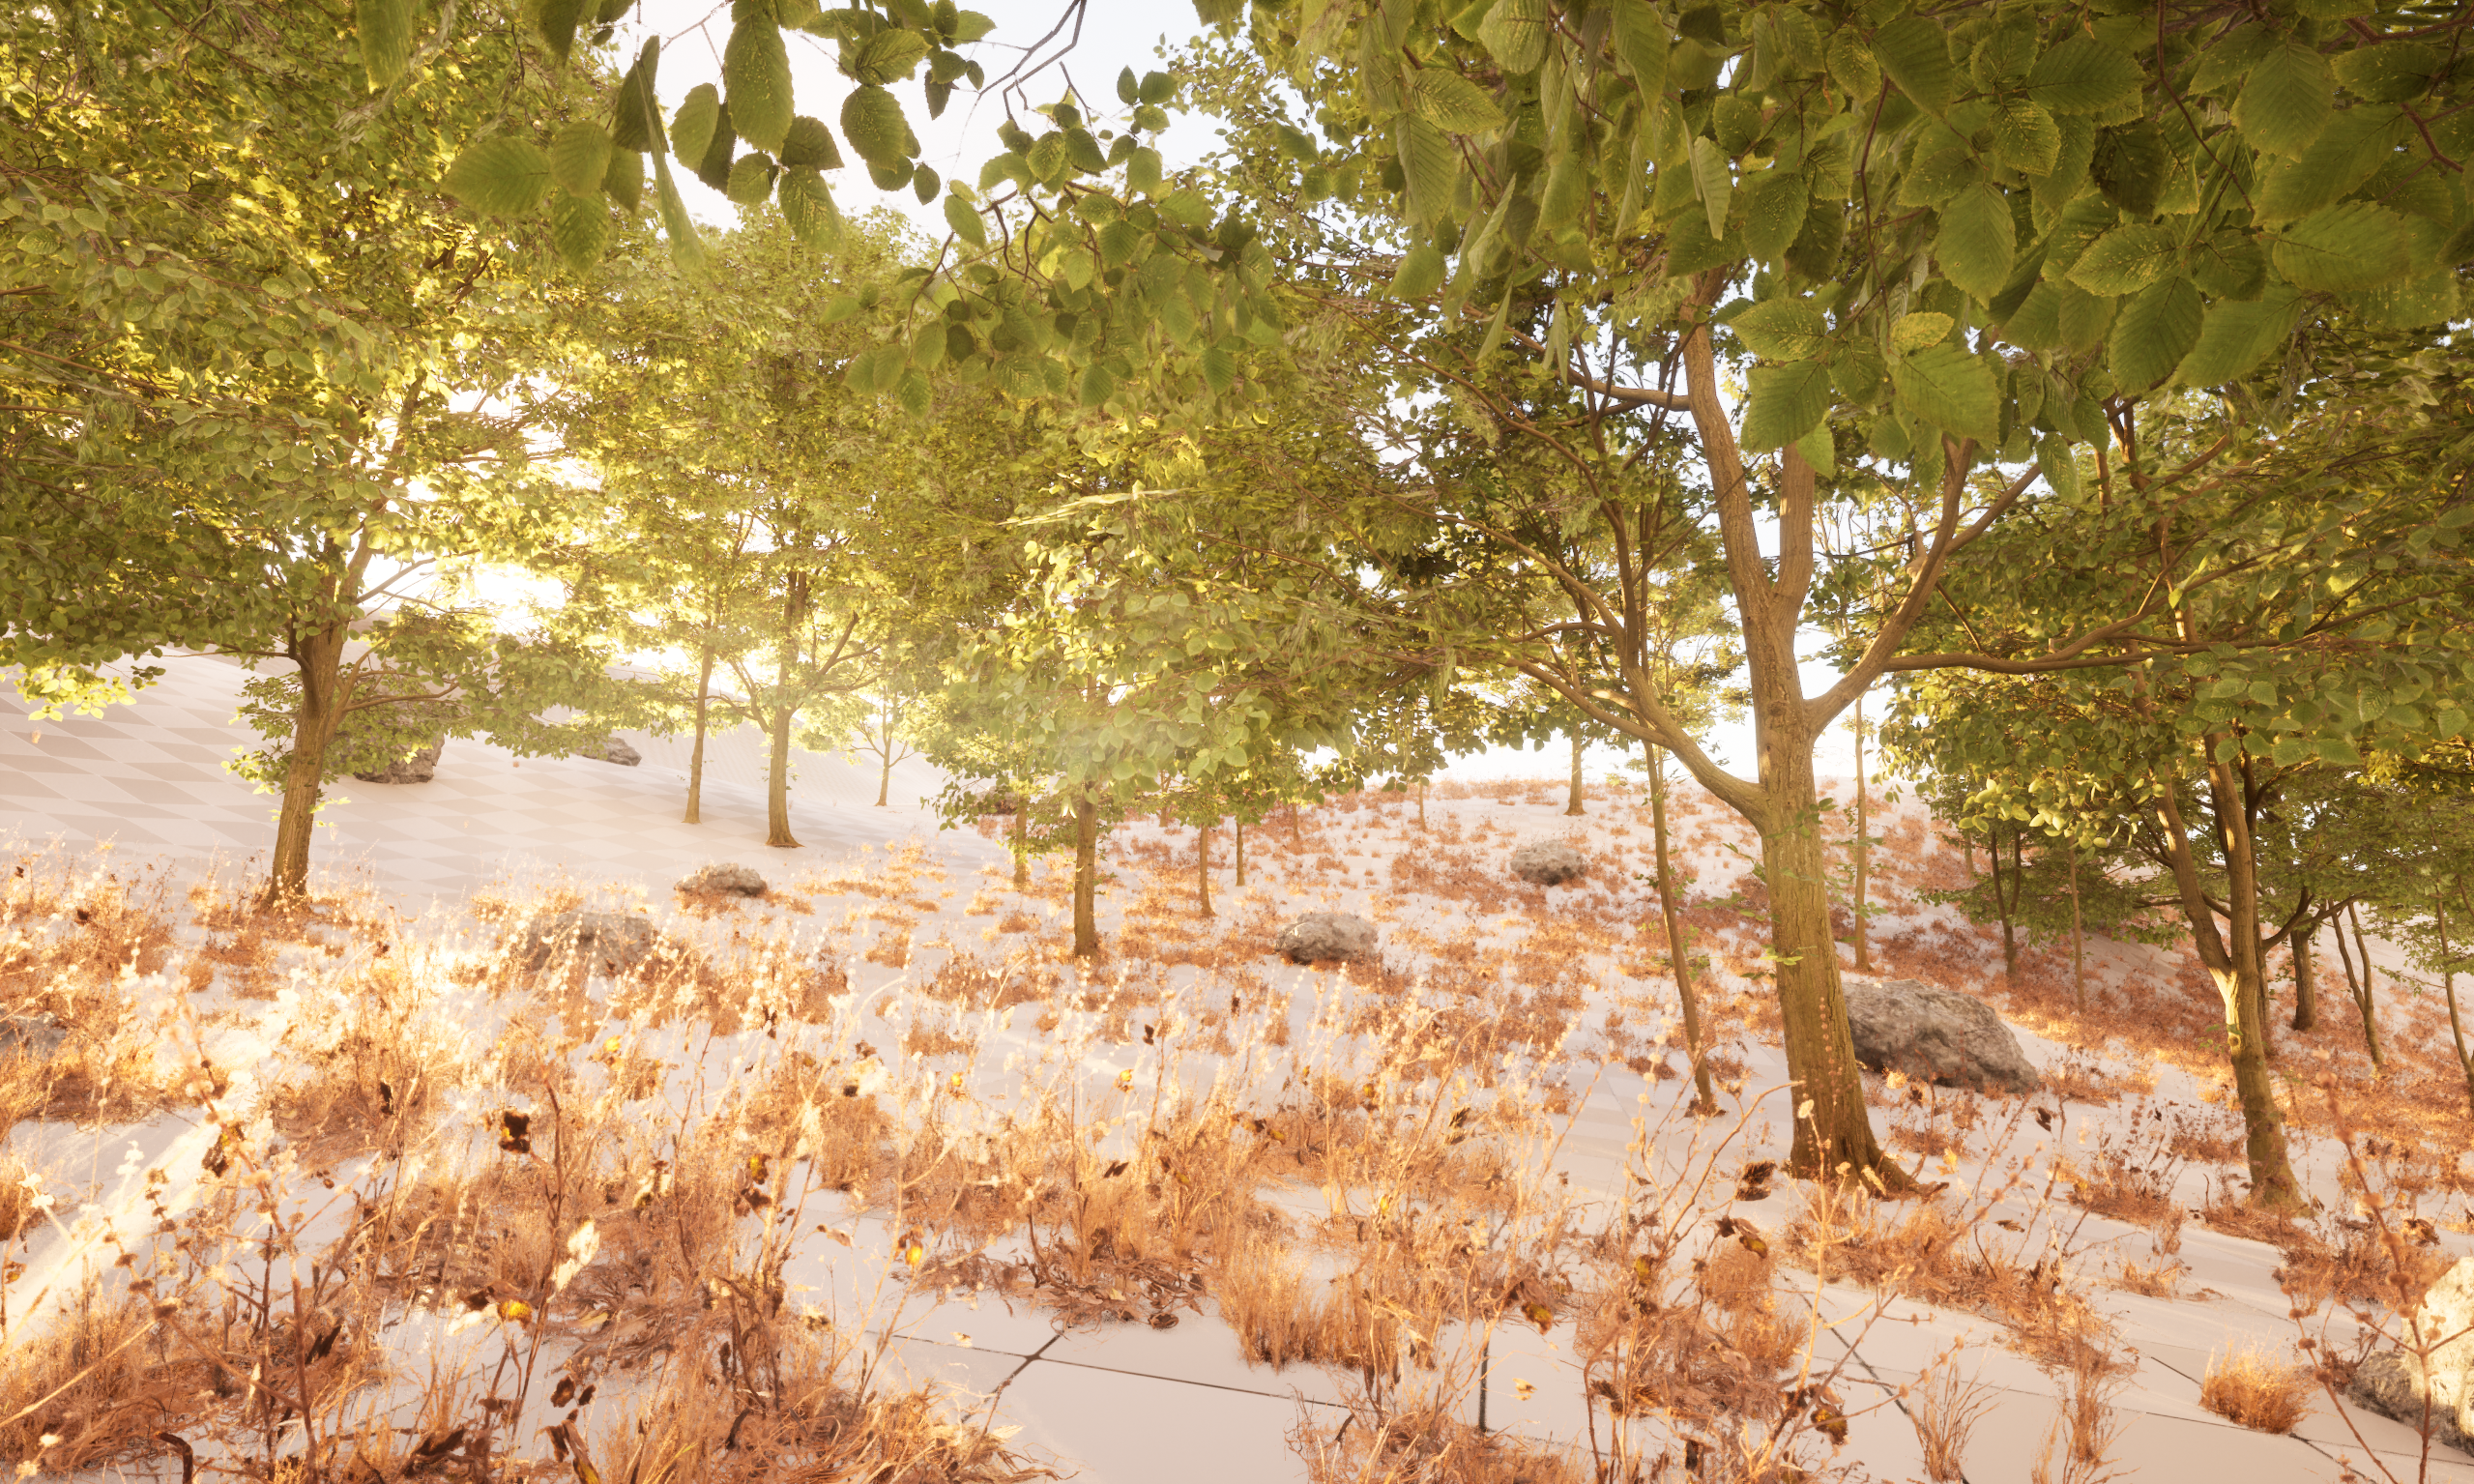
PCG is a framework for creating your own procedural content within Unreal Engine. We can create forests, fields, and streets. PCG enables artists to quickly and iteratively create content, be it simple, low in complexity or high in complexity. From small spaces to entire worlds.
The framework is built with further upgrades and interactivity in mind, thus it can be integrated fairly easily into already existing pipelines too, effectively blurring the lines between traditional and procedural workflows.
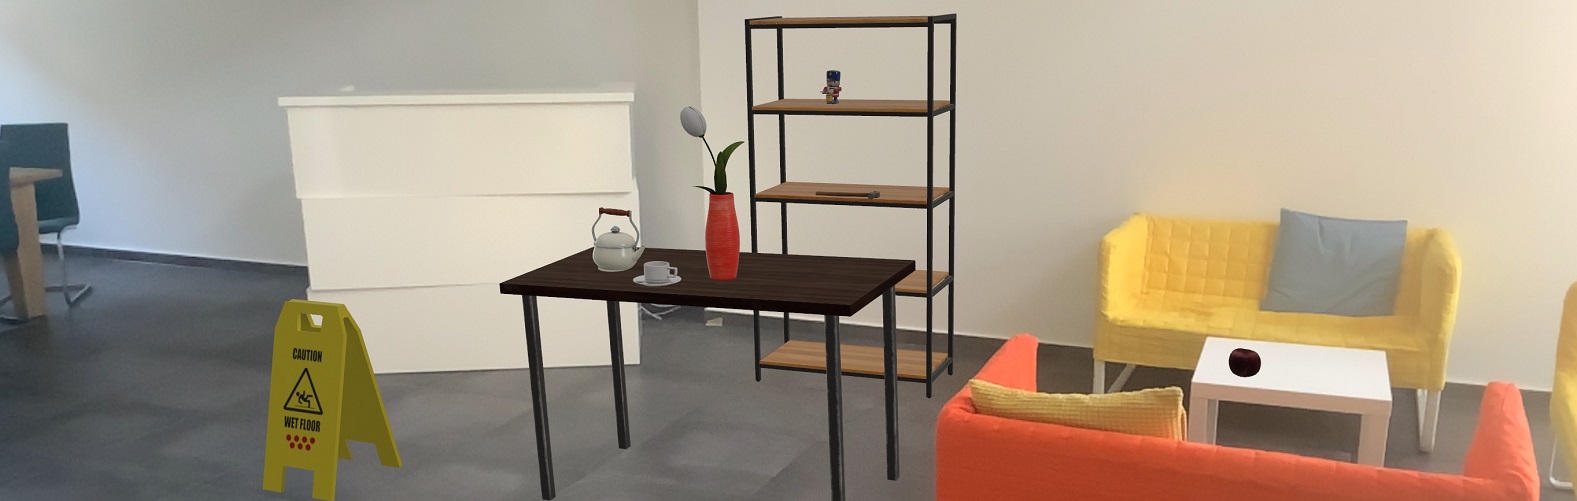
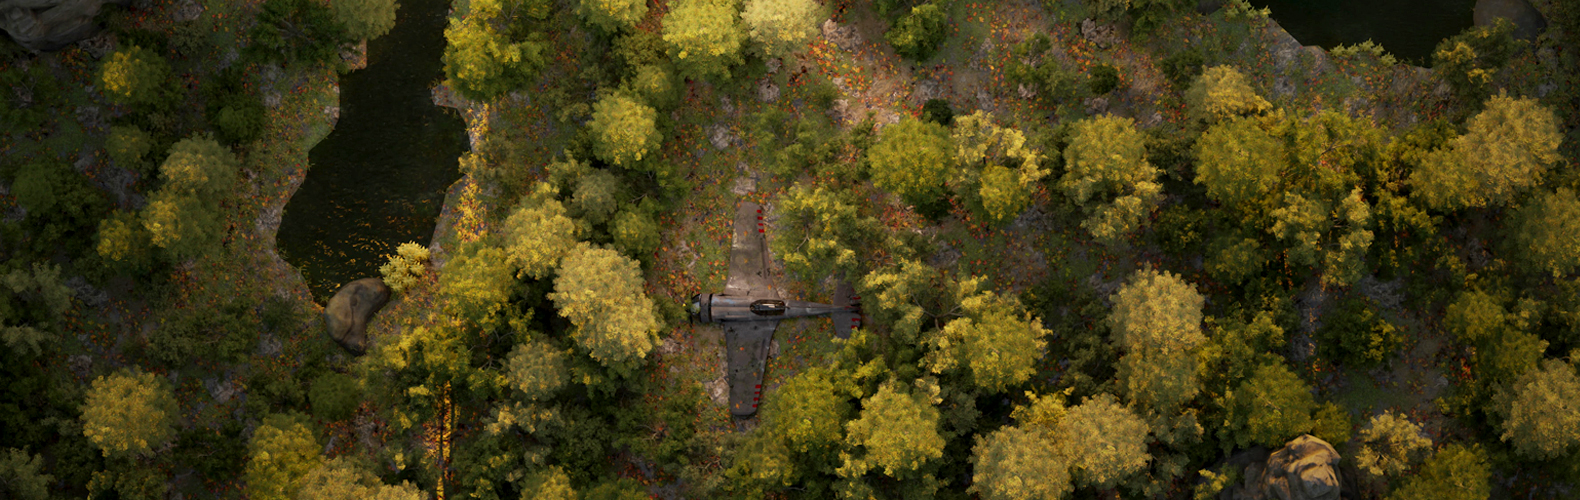
Procedural environment generation
At the time of writing this article, we only have access to the 5.2 preview version within the Epic Games Launcher. In order to use - or currently try out - the framework we have to allow Procedural Content Generation Framework on the plugin tab. After clicking on the tick, Unreal Engine restarts and we can use the new tech as soon as it opens.
In order to start work in procedural environment building we have to make a PCG-graph. This graph will describe what we want to do. We can modify the graph to our liking with Blueprint programming.
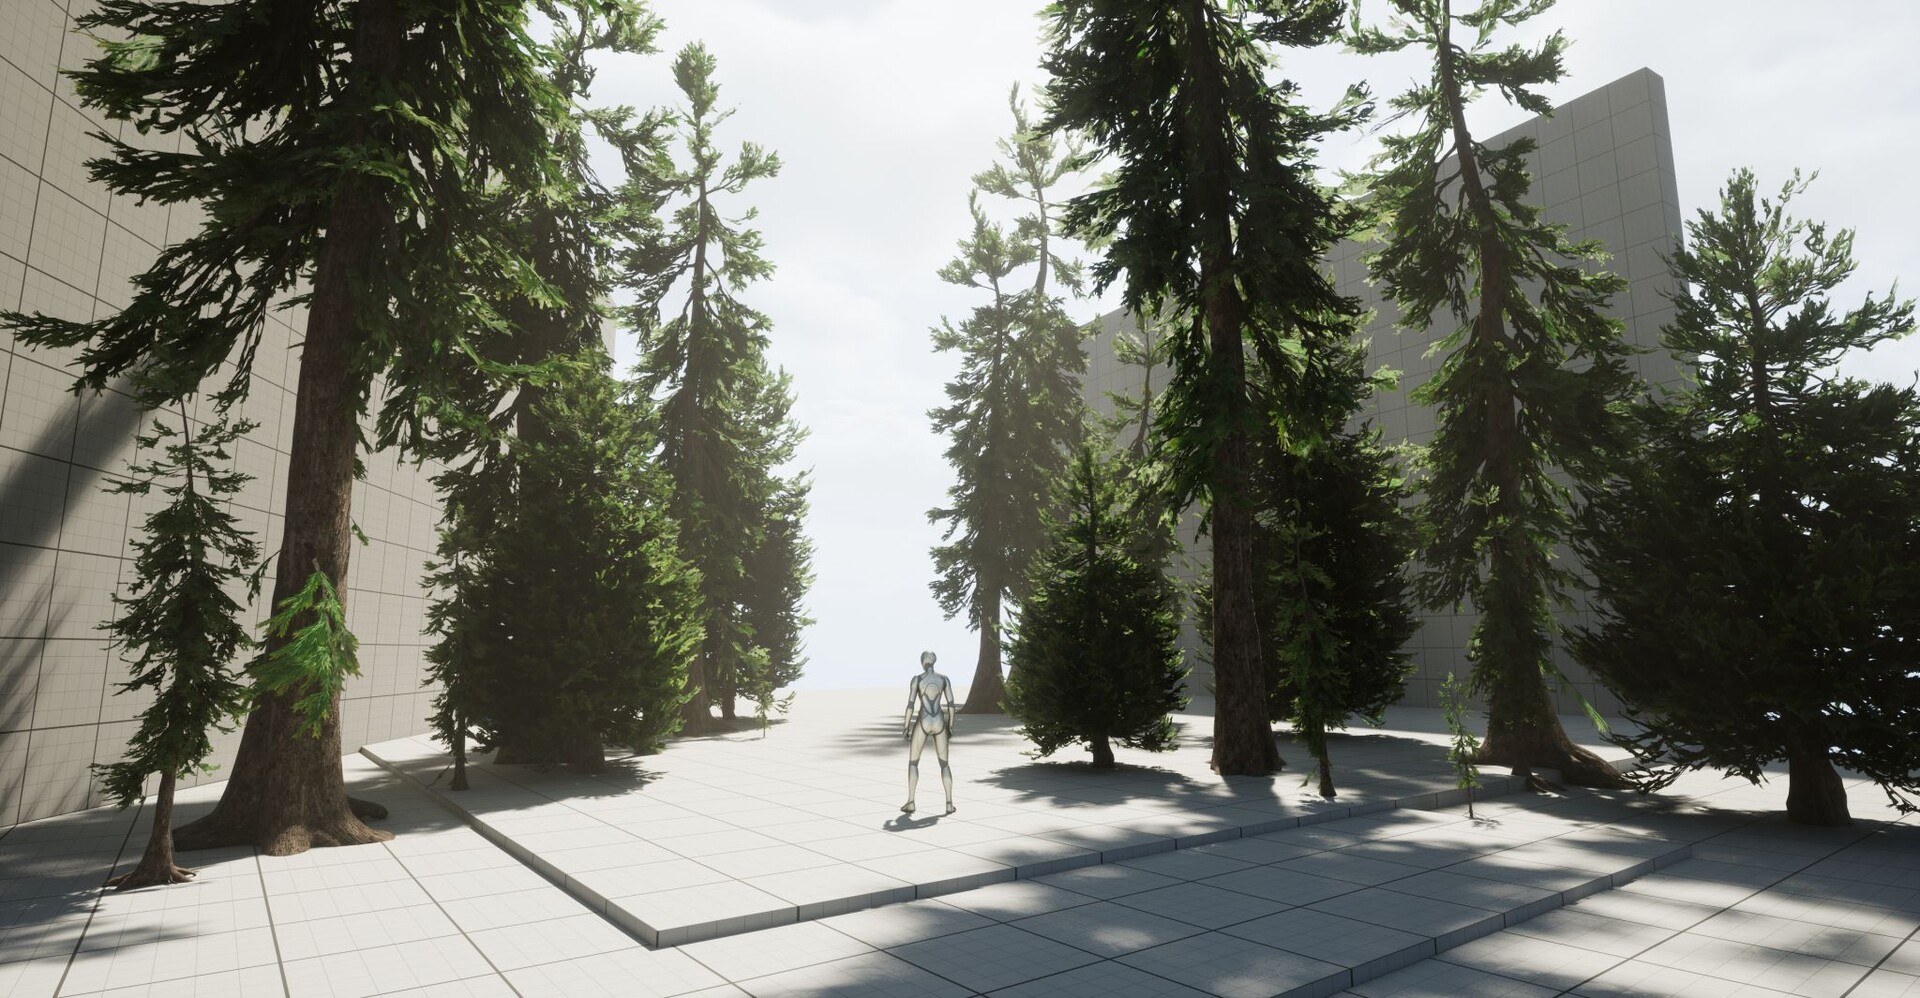
But why is PCG better or rather, different than the traditional workflow? If we take a look at our usual processes where we place our assets manually, we have to take many things into account that could have an effect on our objects and elements.
In contrast to a procedural workflow, in case of a traditional pipeline, we have to place everything on the landscape ourselves.
We have to pay attention to their orientation and we have to make sure that everything is realistic both in terms of size and variety. If something, like a building overlaps with a tree, we have to remove them by hand. Building something from repetitive elements is often difficult. Take a fence for example. Creating a long fence manually is often very time-consuming. Up until this point, there were some procedural solutions for this that we could program ourselves. However, PCG graphs can help in making our work easier and faster.
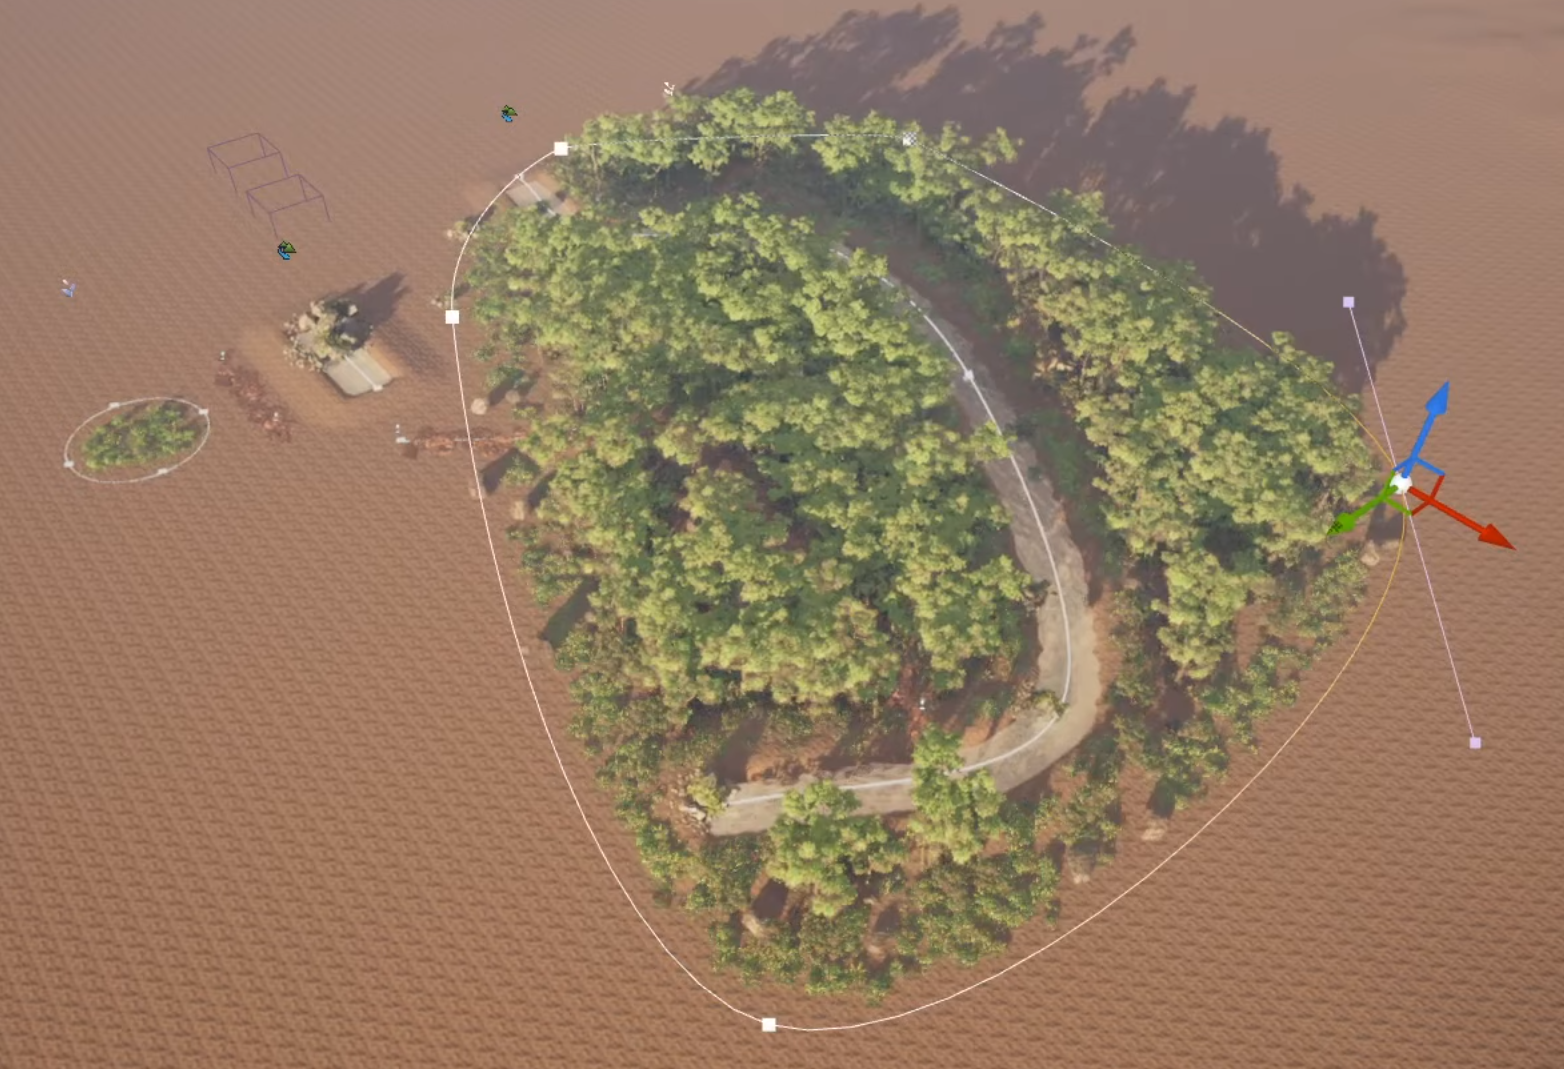
With PCG we can describe a set of rules that define how the content of the given PCG should behave. In practice, this means that whatever is within the scope of the PCG graph, they will be displayed based on the code, i.e. the set of rules. We can set the range along which the assets should be scaled, at what angle they can turn, ensuring variety. We can define safe spaces around the objects within the scene, making sure no two objects overlap, because after all, we wouldn’t like it if a tree was growing straight out of a stone. We can create unique splines which allows for even further modification and fine-tuning.
Several such graphs can also interact with each other. Let’s see an example. We would like to create a river with a riverbed that is made up of small pebbles and we want the edges of the river to be bordered by larger stones and reeds. Let’s generate the river. Let’s lead the river through a forest that was also generated with a PCG graph. Because we used PCG graphs and because these graphs can interact, wherever the river is diverted, the environment can automatically adapt to it. We don’t have to remove any trees that would overlap with the river, seemingly growing straight out of the water.
In addition, one of the biggest advantages of PCG is that we can see the changes in real-time. We get a number of built-in operators for the work. We can also always modify our work manually. Next to Landscapes and splines we can also use Niagara effects, geometry scripts and Blueprints too.
Let's start programming
If we figured out what we want to make, and we have the necessary assets, we can move on to the next task, which is actually making it happen. Creating a graph works similarly to Blueprint programming used in other areas of Unreal Engine.
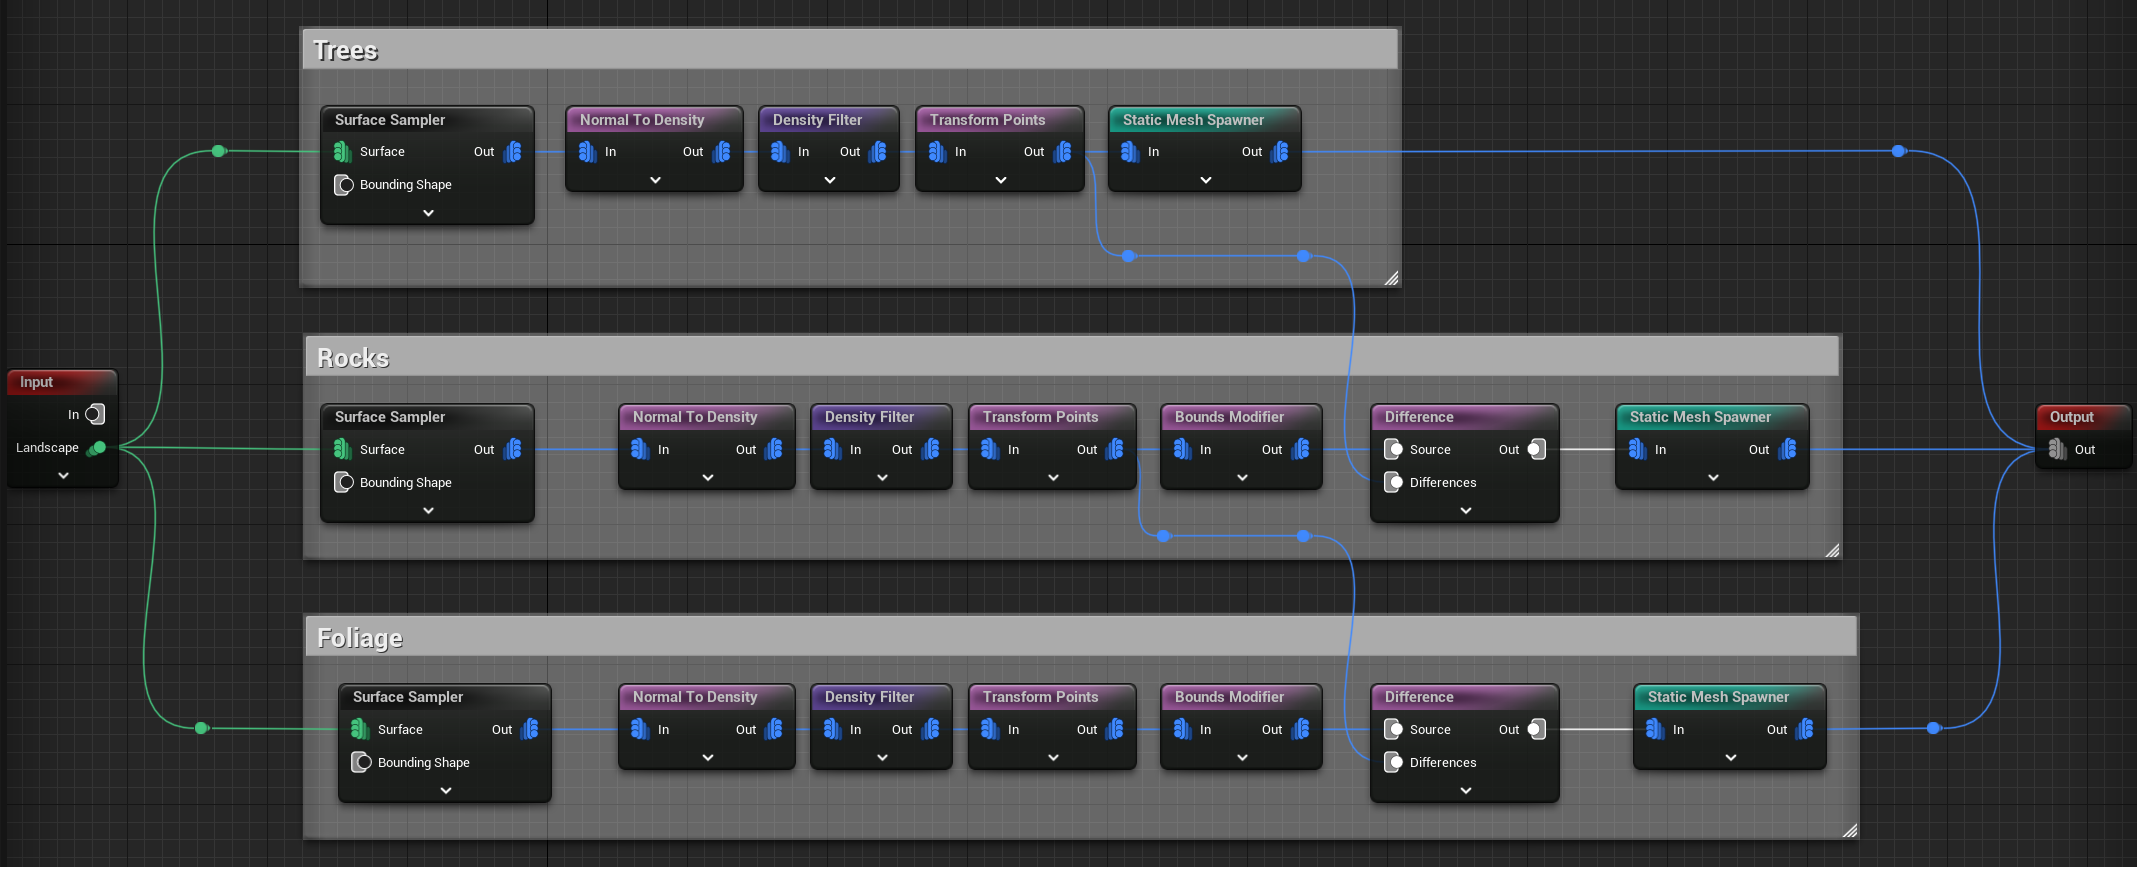
In the picture we can see a simple PCG graph. It has an Input and an Output. What is interesting to us is the code between the two endpoints. Let's say we want to create a forest. We will need trees, stones, vegetation. Furthermore, we need a landscape, on which we place all of our aforementioned assets. We already know that we need to choose the Landscape parameter of the input node.
With the help of the Surface Sampler node, we can place the objects on the surface of the landscape. Here we can specify how densely the assets should be placed and with what seed (seed is a parameter used for controlling randomization). Of course, we can also debug, in this case cubes will appear indicating where the static meshes we want to place will be located. Using the Transform Pointsnode, we can adjust the scale and rotation. We can specify their minimum and maximum values along the X, Y and Z axes, thereby ensuring that our level is not repetitive.
Then, with the Static Mesh Spawner, we can specify the static mesh we want to use. Within such a node, we can give more than one definition, so variations will be displayed. That is why only one node for trees is visible, even though several trees will appear on the level. If we want to display several things we can do so within a single PCG graph, as can be seen in the code. However, a small problem can arise in this case. It is quite possible that several different objects will be mapped to one coordinate. We can eliminate this with the help of Bounds Modifier and Difference nodes.
Other uses
We can use the framework for many things besides generating natural environments, forests and riverbanks. It is clear that this technology holds many possibilities. If, for example, we want to make a crowded street dirty, we want to place garbage, we want to scatter discarded bottles and cigarette butts, we can easily do it by writing a PCG graph and then using it. Splines can be used to create procedural fences and cables. There are so many possibilities in the technology, and the reusability of a singular graph also seems interesting, since we can easily replace one static mesh with another and thus easily turn a summer forest into an icy winter one.
All in all, exciting new features can be expected with version 5.2. We hope that we can try not only the preview version, but the full version out in action soon. We are really looking forward to it!
If this article has piqued your interest in Blueprint programming, follow us, and don’t miss out on it in our next Unreal Engines article. ;)
Written by F. Tamás, translated by F. Flóra.